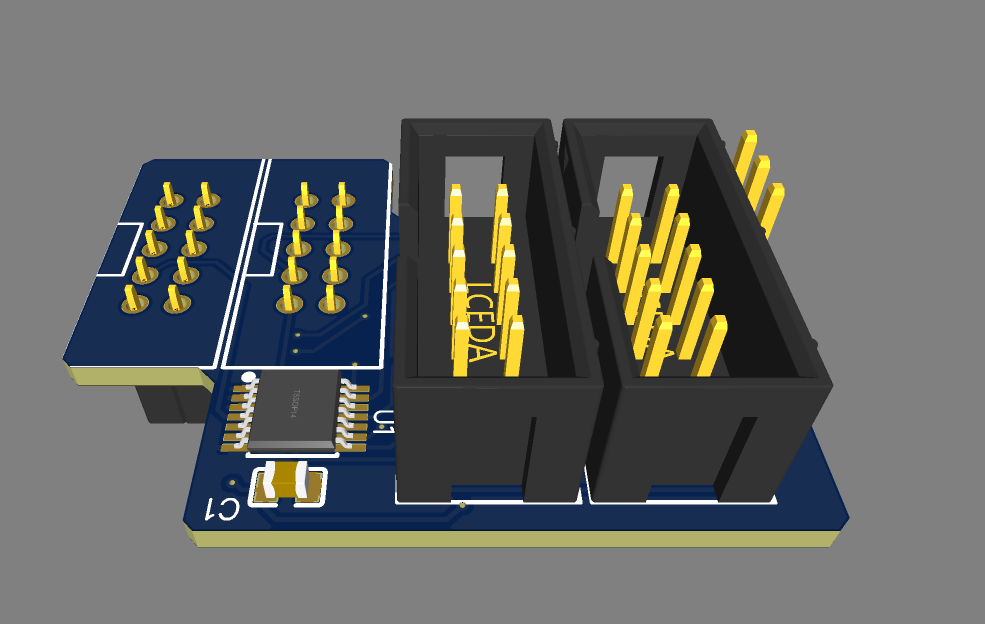
Made two new PCBs ;)
I made something new ;) For reference here are the threads about it
https://forum.duet3d.com/topic/24043/my-take-on-a-accelormeter/5
and
https://forum.duet3d.com/topic/23034/12864-display-st7920-on-duet-3-mini5/13

-ASimpleandPowerfulElectronicCircuitDesignTool.png)
My personal log of various projects
I made something new ;) For reference here are the threads about it
https://forum.duet3d.com/topic/24043/my-take-on-a-accelormeter/5
and
https://forum.duet3d.com/topic/23034/12864-display-st7920-on-duet-3-mini5/13

-ASimpleandPowerfulElectronicCircuitDesignTool.png)
I bought a new Laptop and installed Linux on it. Here are my notes
I am using a detla printer which prints pretty fast. To reduce the filesize and use G2/G3 commands i am using ArcWelder.
ArcWelder is avaible as a OctoPrint Plugin or as a CLI programm. I am using Duet Boards without OctoPrint.
Here is the video :
I am running my 3D printer via DSF on a Raspberry PI. Its like Octoprint for RRF/Duet Boards. After a print is finished you can call the M81 command to poweroff the printer (Assuming you have installed the ATX Power Off). But this do not work on the PI. So found this Plugin: https://github.com/wilriker/execonmcode
This will parse the DSF for a specific M Command you can choose! The standard one is M7722.
It then runs whatever you want on the PI. For installing the plugin and installing it as a service i made some small YT Videos!
If you are using and NodeMCU or Duet 2 WiFi in a metal box the signal strenght of the WiFi would be quite bad.
So a external antenna is needed. Two options are possible
The trickiest part is the desoldering of the Modul.
For the desoldering without hotair you will need:
My inspiration for this comes from this video: https://www.youtube.com/watch?v=CVsmwFAkf7I&t
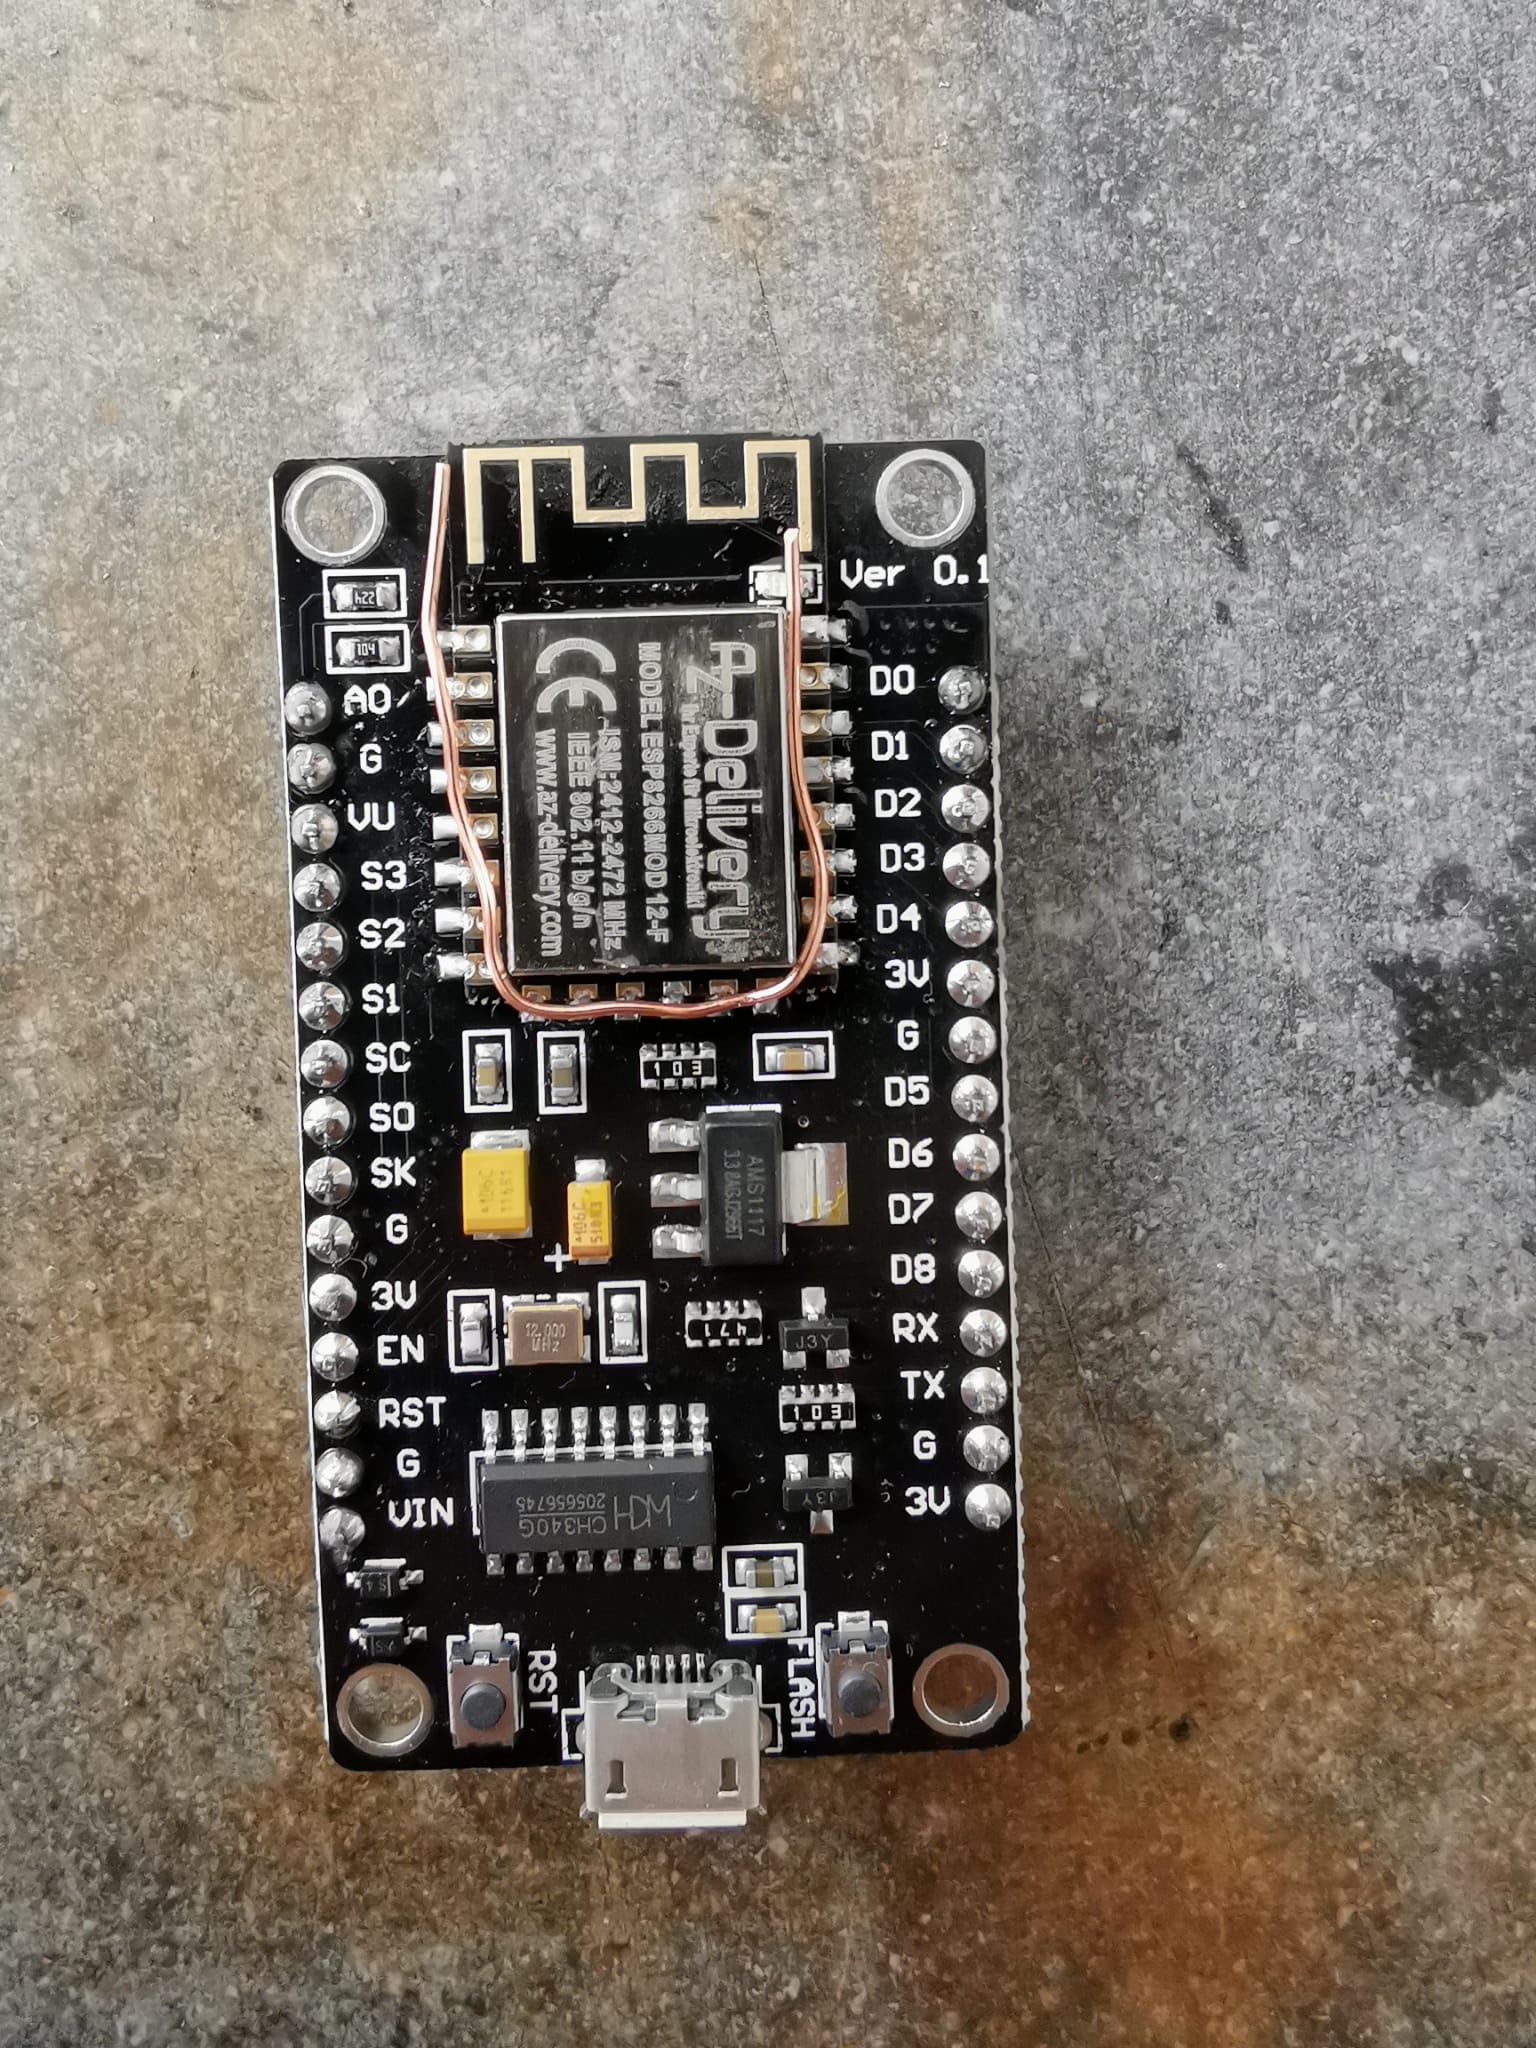
Step 1 is bending the copper wire like this

Step 2 applying a lot of solder to the wire so it become a giant "solder snake". Then heat everthing out and push the ESP away

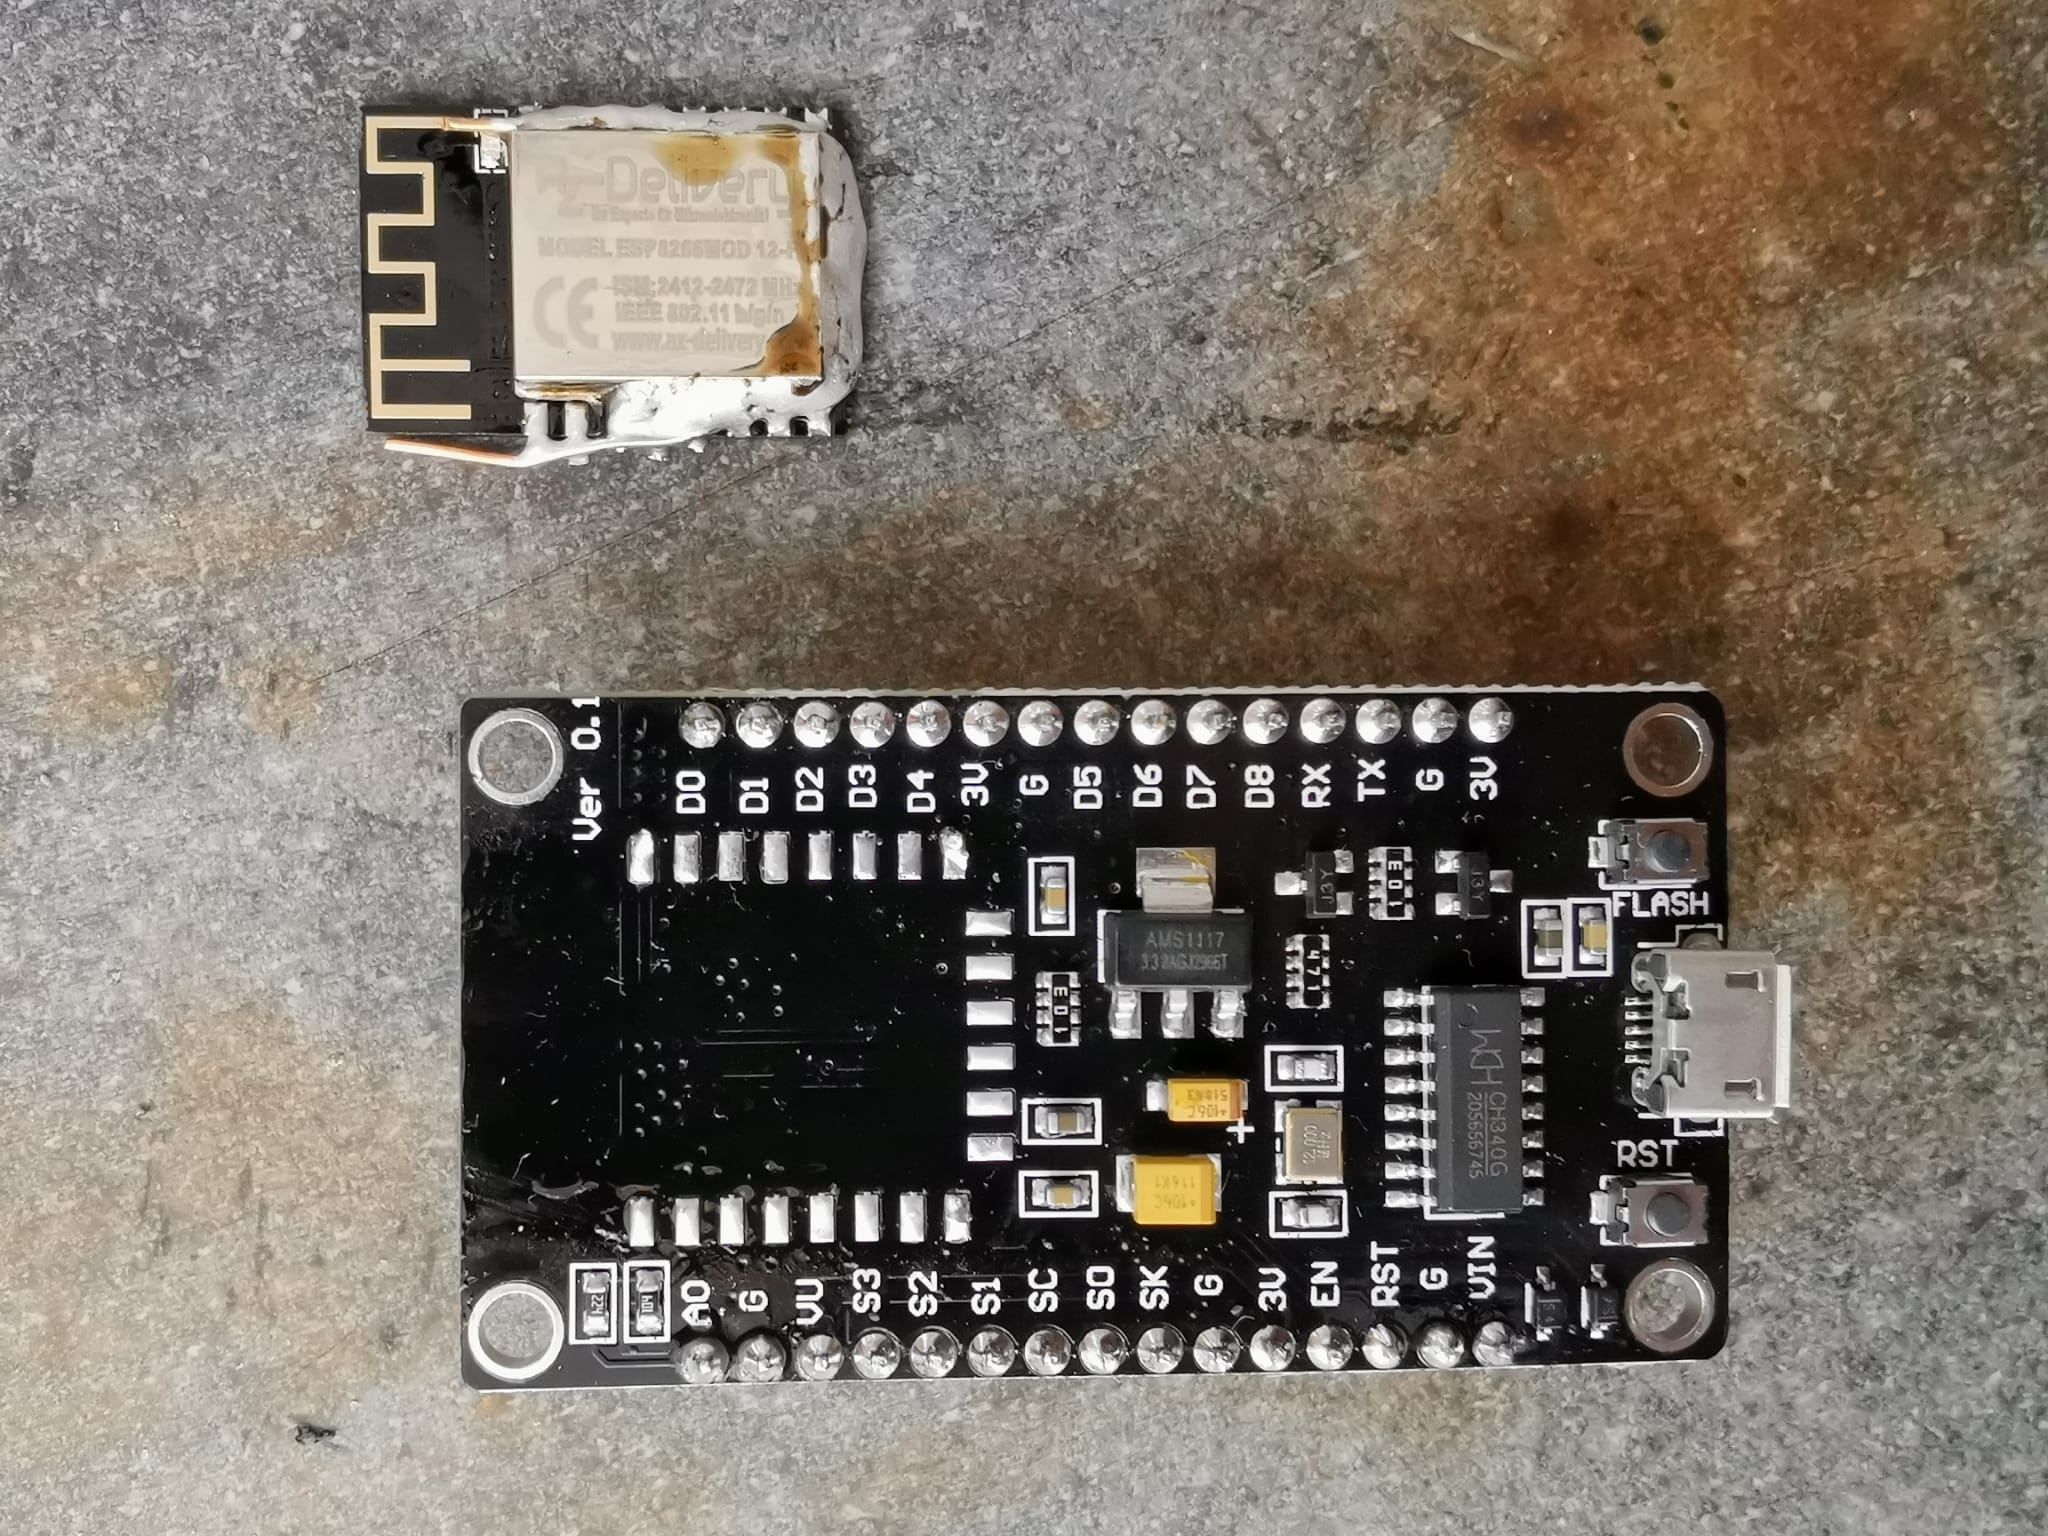
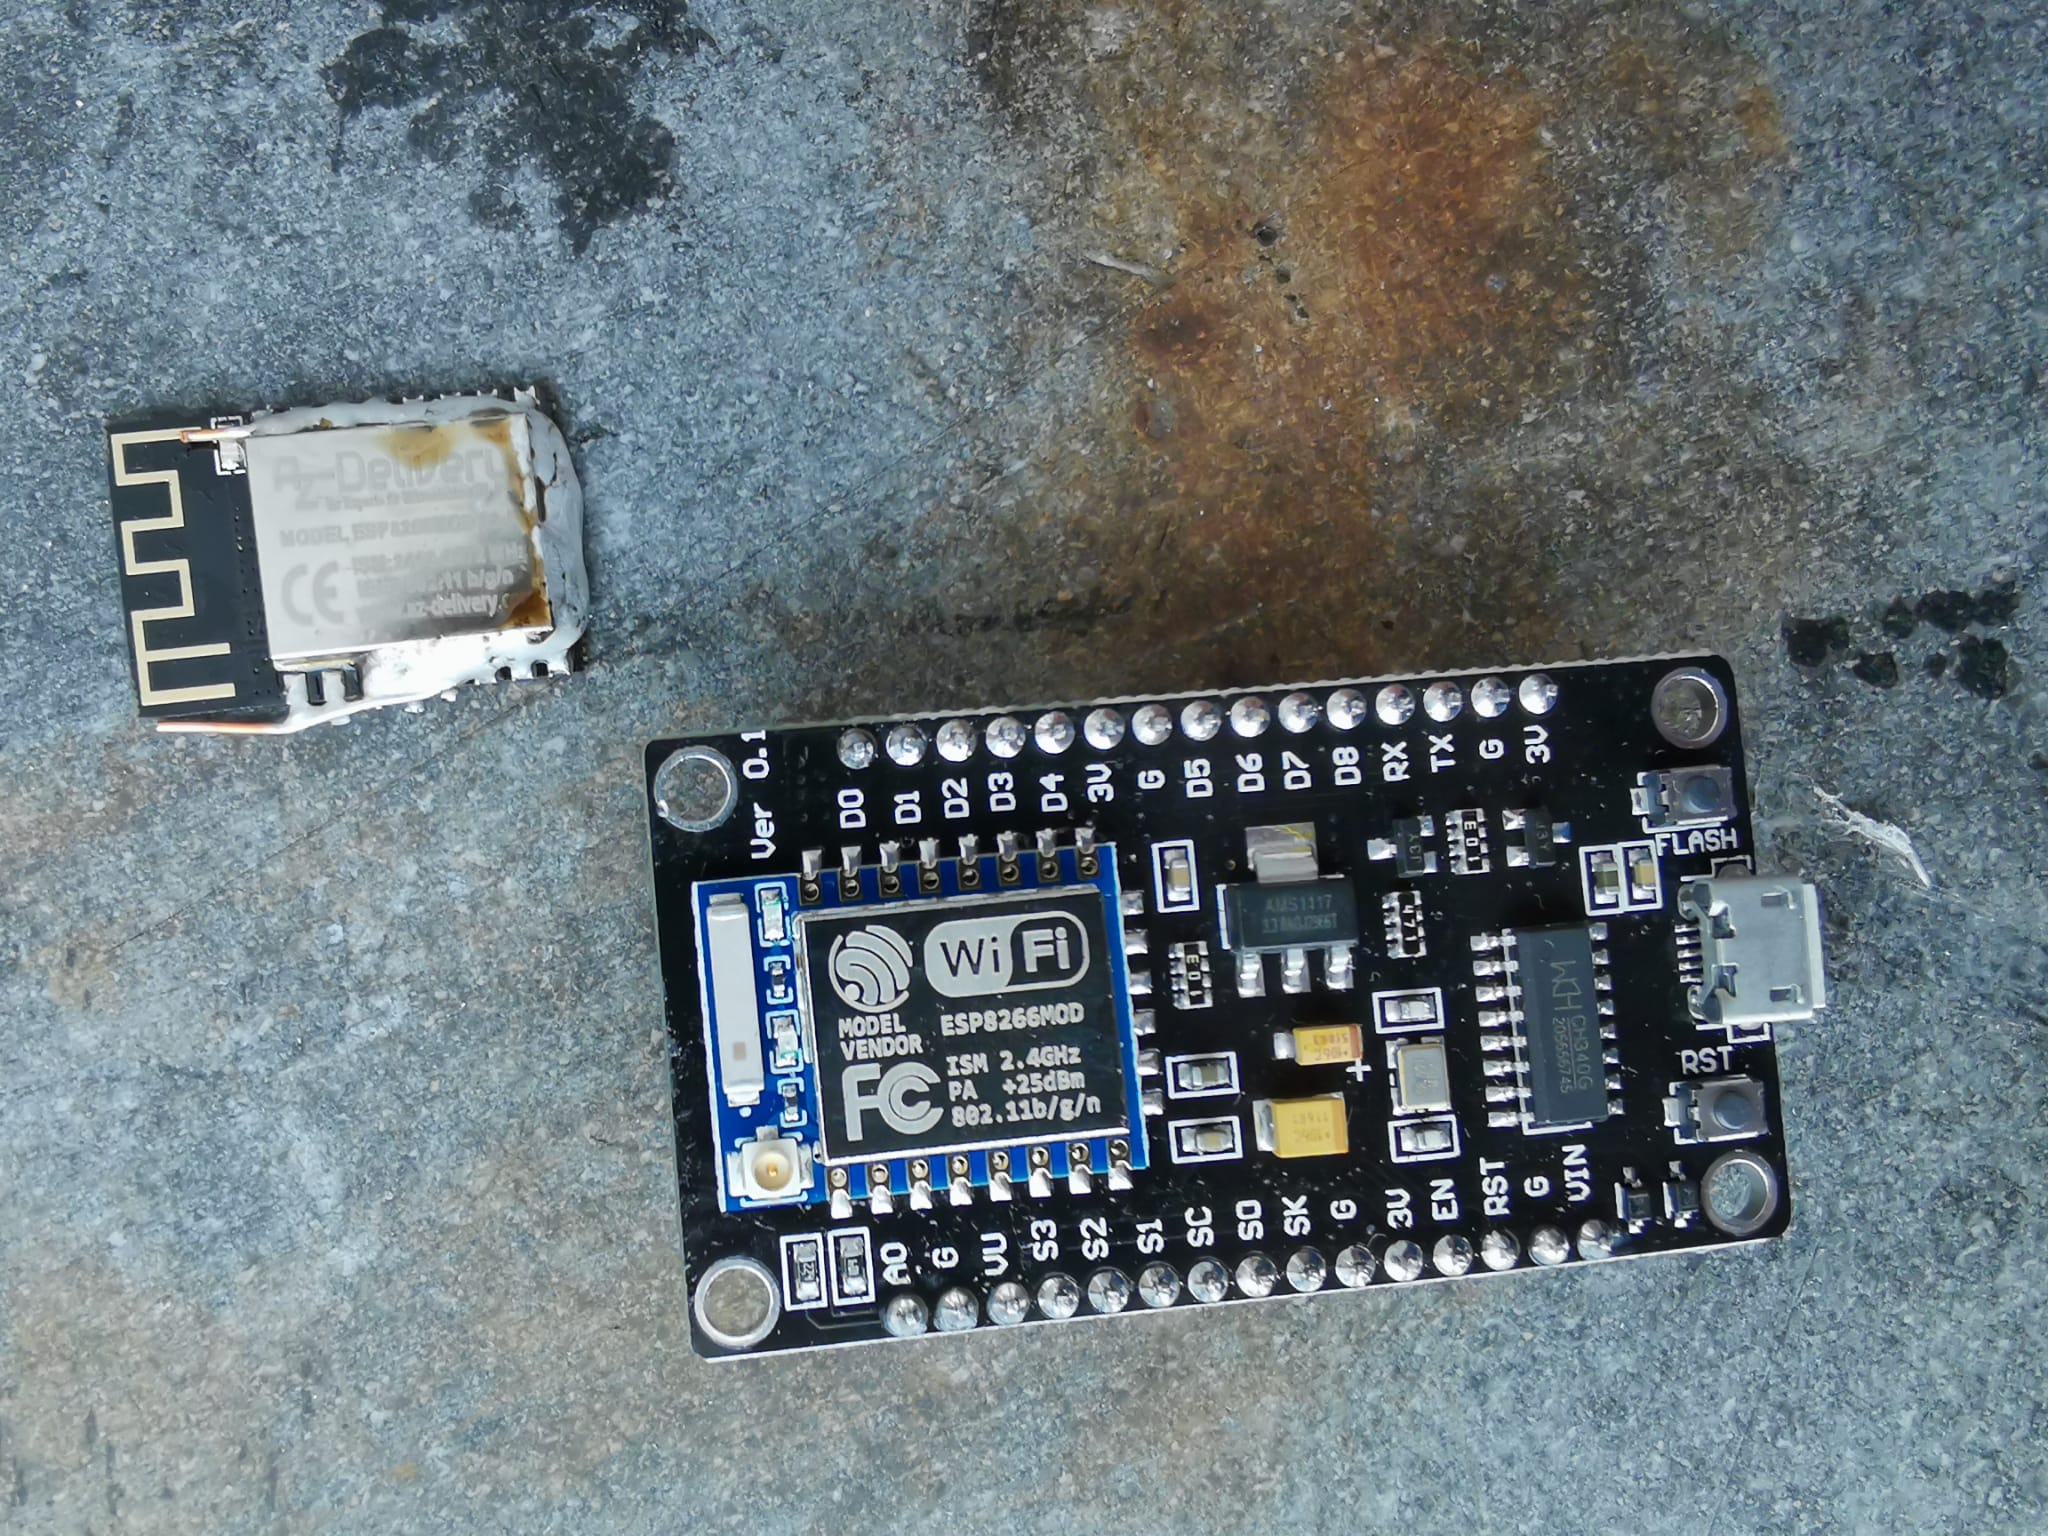
Step 3 ESP is now desolderd. Now clean the solderpoints with some solder wick and retin them

Step 4 Place the ESP07(S) on the old solder points. And solder the modul onto the board

Step 5 After soldering the board so not forget to reflash the firmware of the ESP!

Step 6 Finish! You can now use an external antenna with the NodeMCU

7.Now send this command.
8. Now you can disconnect the USB and copy the IP of your printer in your browser. You can now configure the printer like a duet board.
Here is a quick video for reference: